
Do you wish to add footnotes to your WordPress weblog posts?
If you’re writing an article that references analysis or accommodates quite a lot of complicated info, then you could wish to use footnotes in your content material. These are little numbered marks in a textual content that present extra context to a sentence or paragraph.
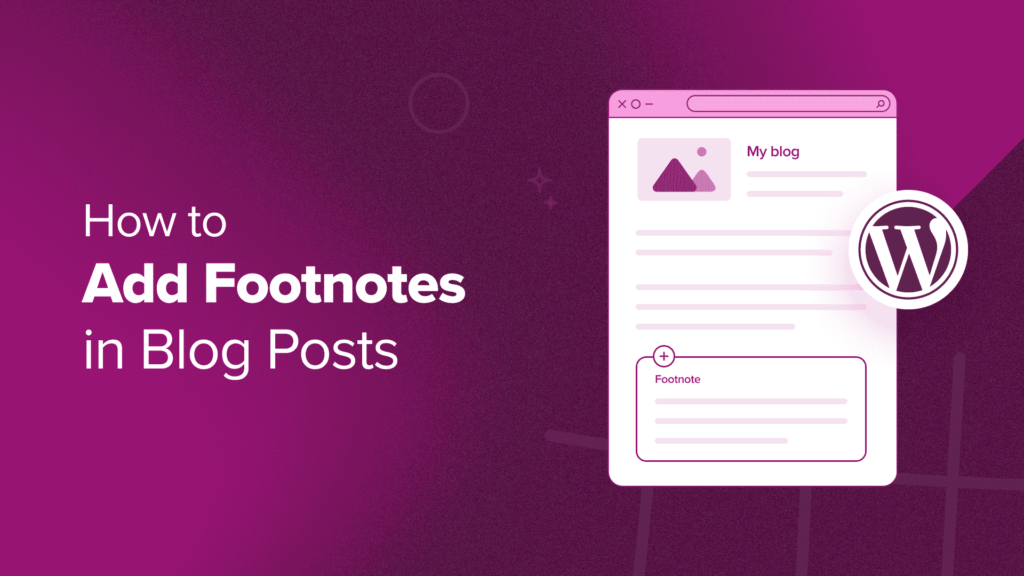
On this article, we are going to present you the way to add easy and chic footnotes to your WordPress weblog posts, step-by-step.
In case you run an academic weblog, publish analysis, or cowl information tales, then footnotes are an effective way to present extra context to your content material. You should use them so as to add feedback, spotlight vital information, or insert citations to tutorial sources in your web site.
A footnote sometimes seems as a small, superscript quantity inside the principle physique of your textual content. The precise footnote content material is then positioned on the backside of the web page or seems as a tooltip to differentiate it from the principle content material.
Right here is an instance:

In addition to offering readability and transparency on your readers, footnotes could make your WordPress web site look extra skilled and reliable. They present that you’ve got achieved your analysis and have the sources to assist your claims.
The WordPress.org editor now has a built-in footnote characteristic that you may simply use to insert extra context.
This information will present you the way to add WordPress footnotes to your weblog posts or pages utilizing two strategies. One is with utilizing the Footnotes block within the Gutenberg editor, and the opposite is with a plugin.
You should use the hyperlinks under to leap to a particular technique:
This technique is finest for individuals who wish to use easy footnotes and don’t wish to set up a plugin for this goal.
To make use of the WordPress Footnotes block, you have to to open the Gutenberg block editor for a brand new or current submit or web page.
After that, simply spotlight a phrase in your content material that you just wish to add the footnote to. Within the block toolbar, click on the dropdown arrow and choose ‘Footnote.’
You’ll now be redirected to the underside of the web page, the place the Footnotes block has been added robotically. Right here, you may sort in your additional info.
Moreover, you may customise the block’s colour, typography, dimensions, and border utilizing the settings within the right-hand panel.

Be happy to repeat this step to incorporate as many footnotes as wanted.
If you preview your WordPress web site, there ought to be a footnote hyperlink to the sentence you highlighted earlier.

In case you click on on the hyperlink, it would convey you to the underside of the web page with the footnote.
Right here, you can too click on the hyperlinked arrow to return to the part the place the footnote is assigned.

Whereas this technique is pretty easy for novices, it doesn’t provide tons of customization choices. If you’re on the lookout for extra methods to vary the footnote look, then simply proceed to the subsequent technique.
One other technique of making footnotes is to make use of the free Trendy Footnotes plugin. Not like the Footnotes block, it presents much more choices to switch the footnote look.
For instance, you may make the footnote seem as a tooltip, in addition to additional info on the backside of the web page.
The very first thing you’ll do is set up the Trendy Footnotes plugin. For extra details about plugin set up, take a look at our information on the way to set up a WordPress plugin.
Configuring the Trendy Footnotes Plugin Settings
With the plugin put in, now you can go to Settings » Trendy Footnotes. That is the place you may configure the footnote settings to your preferences.
Let’s undergo every setting one after the other.
‘Desktop footnote conduct’ lets you choose how the footnote ought to behave when the web site is being considered on a desktop laptop.
You may make the footnote seem when a cursor hovers over the tooltip or when the consumer clicks on the tooltip. Alternatively, the footnote can broaden under the footnoted textual content.

Which one you select is as much as your preferences. That stated, the footnote will broaden under the textual content by default on cellular screens.
In addition to that, you can too examine the ‘Make footnote content material seem in internet browser’s native tooltip when hovering over footnote quantity’ field if wanted. This implies the footnote will seem within the browser’s tooltip slightly than within the plugin’s when the cursor hovers over the textual content.
We suggest switching this setting off should you select the tooltip choice for the desktop footnote conduct. In any other case, you should have two tooltips for a similar footnote, which readers might discover annoying.
Under, you can too select to show the footnote listing on the backside of the posts. This manner, the reader can see the entire extra info in a single place.
You may additionally wish to allow this characteristic when the weblog submit is syndicated via RSS feeds.

Scrolling down, you may decide to insert a heading on your footnote listing and select a heading tag for it. This helps separate the precise content material of your weblog submit from the footnotes. You possibly can write one thing like References, Footnotes, Citations, or Extra Data.
If you wish to add some customized CSS to switch the footnote textual content, be at liberty to insert it within the ‘Trendy Footnote Customized CSS’ field.
Final however not least, you may customise the Trendy Footnotes shortcode should you don’t wish to use the built-in model. Ensure to enter the shortcode with out the brackets.
As soon as you might be proud of the settings, simply click on ‘Save Modifications.’

Including Footnotes Utilizing the Trendy Footnotes Plugin
Now that you just’ve configured the Trendy Footnotes settings, let’s insert some footnotes into your content material. Go forward and open the block editor for a brand new or current submit or web page.
There are two methods so as to add a footnote. One is with a shortcode, which is what we suggest.
First, discover the sentence you wish to insert a footnote. Then, proper subsequent to that sentence, sort within the following shortcode:
[mfn]Insert your footnote right here[/mfn]
Ensure to exchange the textual content between the brackets together with your info.
We additionally counsel placing the shortcode inside the identical block because the sentence, proper subsequent to the textual content, with none area in between, identical to within the instance under. In any other case, the footnote might look disconnected from the textual content.

The opposite technique is to sort your footnote textual content subsequent to the sentence you wish to add the footnote to. Ensure there’s no area between the footnote textual content and the sentence.
Within the instance under, we wish to add a footnote containing a tutorial quotation for the sentence that begins with ‘Research counsel…’
Subsequent, spotlight the footnote and click on the down-arrow button within the toolbar. After that, choose ‘Add a Footnote.’

The downside with the second technique is it may be laborious to trace which traces of textual content have been given a footnote and which of them haven’t if you end up enhancing the content material. That’s why we suggest the shortcode technique.
If you preview the weblog submit, you will notice that there’s now a quantity subsequent to the sentence. In case you use the tooltip choice, that is what the footnote will appear to be:

Then again, the footnote will seem under the textual content should you use the expandable formatting.
Right here’s what it appears to be like like while you click on on the quantity:

Lastly, should you select to show the entire footnote content material on the backside of the submit, you may scroll down to seek out all the pieces there.
They need to be someplace above the remark part.

Bonus Tip: Use WordPress Customized Fields to Add Extra Data to Your Content material
In addition to footnotes, one other method to offer additional info in your WordPress posts and pages is by utilizing customized fields.
WordPress customized fields are metadata used to insert extra info right into a submit or web page. For instance, should you run a weblog with a number of authors, then you could wish to show your contributors’ names on the weblog submit, not simply your individual.
If you’re thinking about customized fields, simply take a look at our WordPress customized fields 101 information.
We are going to present you the way to add customized fields utilizing the block editor and a few plugins, together with WPCode. This plugin presents a protected and simple method so as to add code snippets to your WordPress web site, even in case you are a newbie.

We hope this text has helped you learn to add footnotes to your WordPress web site. You may additionally need to check out our professional picks for the perfect WordPress typography plugins and our information on the way to present and conceal textual content in WordPress posts with the toggle impact.
In case you favored this text, then please subscribe to our YouTube Channel for WordPress video tutorials. You too can discover us on Twitter and Fb.

