

Do you wish to add your WordPress merchandise to Google Procuring?
Including your on-line retailer merchandise to Google Procuring will help you improve visitors, attain extra prospects, and generate higher income.
On this article, we’ll present you methods to simply add WordPress merchandise to Google Procuring.
Why Ought to You Add WordPress Merchandise to Google Procuring
Google Procuring is a digital market like Amazon and Etsy, the place customers can search, view, and examine merchandise from completely different on-line shops which have paid to promote their merchandise.
If in case you have a WooCommerce retailer, then including your merchandise to Google Procuring can show to be extraordinarily useful for your small business.
Your merchandise might be proven to all customers shopping by way of Google buying which is able to improve visitors in your WordPress web site, generate extra income and convey in additional prospects.

That being mentioned, let’s see how one can add WordPress merchandise to Google Procuring.
Methods to Add WordPress Merchandise in Google Procuring
Step 1: Making a Google Service provider Account
So as to add your merchandise to Google Procuring, you need to begin by creating an account within the Google Service provider Middle. That is the place the place your product data might be saved for viewing by Google Procuring.
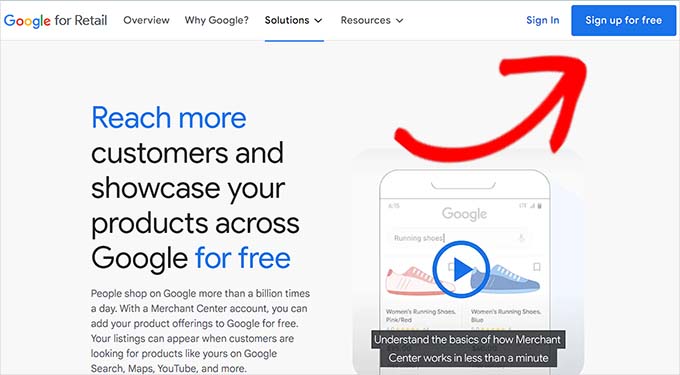
First, go to the Google Service provider Middle web page and click on the ‘Join free’ button.
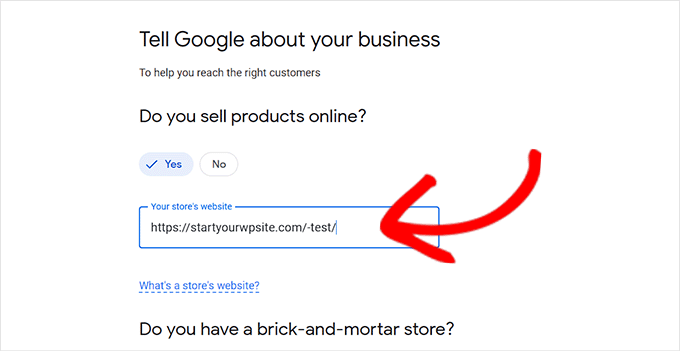
After that, Google will ask you about your on-line enterprise.
Simply examine the solutions that apply to you, after which present your web site’s URL.
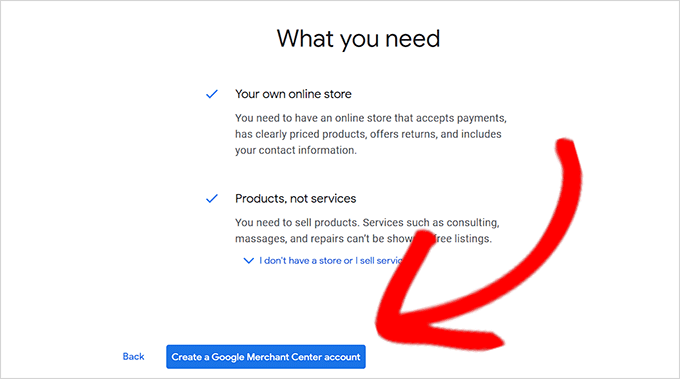
After you’ve offered the small print, you’ll be redirected to a different web page.
Right here, you merely should click on the ‘Create a Google Service provider Account’ button on the backside of the web page.
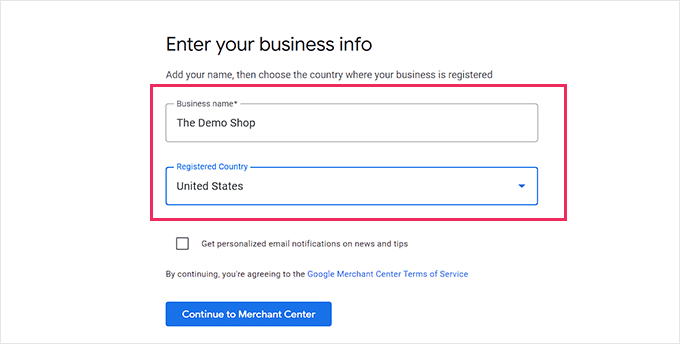
Now, you may be requested to offer your small business particulars. You can begin by writing your small business title.
Subsequent, choose the nation the place your small business is predicated from the dropdown menu beneath the ‘Registered Nation’ possibility.
After that, click on the ‘Proceed to Service provider Middle’ button.
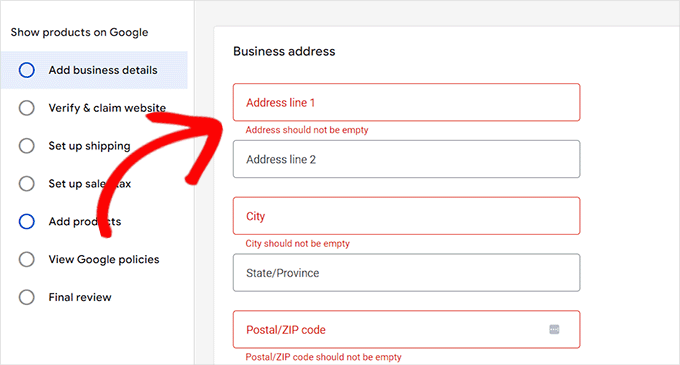
You’ve efficiently created your Google Service provider Account. Now all you need to do is present your small business data and delivery particulars.
When you’ve crammed in these particulars, merely click on the ‘Save’ button on the backside to retailer your settings.
Step 2: Linking Your Google AdWords Account
Now you’ll should hyperlink your Google AdWords account to your Google Service provider Middle account so to present your merchandise by way of Google Procuring.
To hyperlink your account, merely go to the Google Service provider Middle dashboard and click on the gear icon on the prime of the web page.
Clicking it is going to open up a ‘Instruments and Settings’ immediate. Right here you merely have to decide on the ‘Linked Account’ possibility current.

This may take you to the ‘Linked Accounts’ web page.
Now you merely should click on the ‘+’ button to create your Google Adverts account.
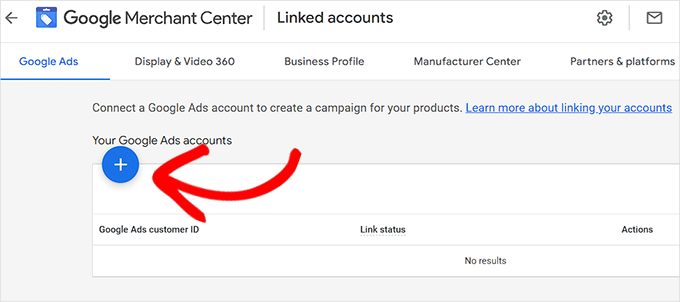
This may open up a ‘Create Your Google Adverts Account’ immediate.
Merely select your most popular time zone and foreign money after which click on the ‘Create’ button.
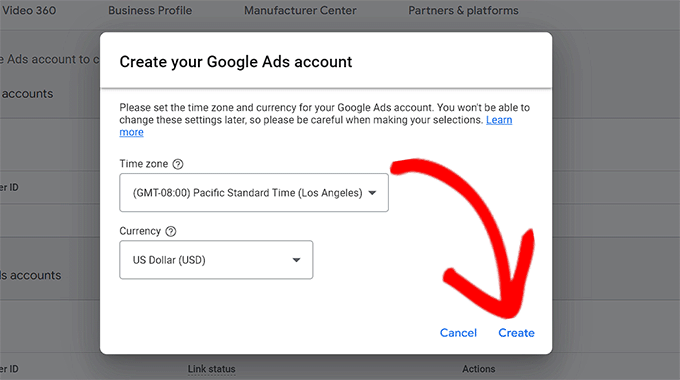
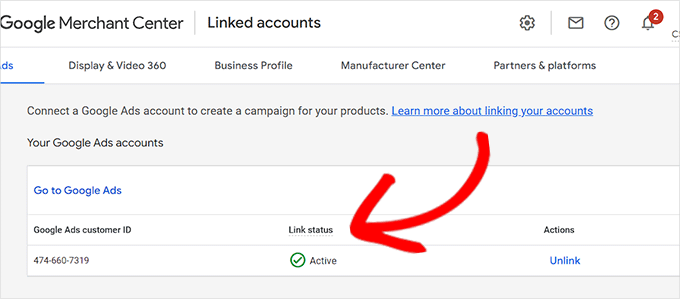
You might have now efficiently created your Google Adverts account.
That is the way it will look as soon as your account has been created.
Step 3: Including WordPress Merchandise to Google Procuring
So as to add your WordPress merchandise to Google Procuring, we might be utilizing the ELEX Google Procuring plugin to show your WooCommerce merchandise in Google Procuring.
First, you have to do is set up and activate the ELEX Google Procuring plugin. For extra directions, examine our information on methods to set up a WordPress plugin.
Upon activation, head over to the Google Procuring Feed » Create Feeds web page from the WordPress admin sidebar.
From right here, merely fill in your small business particulars and click on the ‘Proceed’ button on the backside.

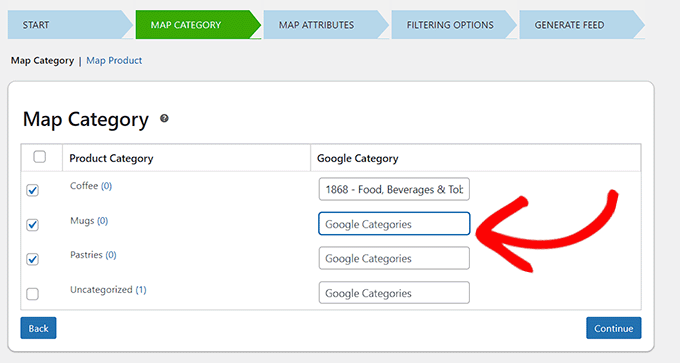
Subsequent, you’ll be taken to the ‘Map Class’ web page. Right here you merely have to pick out your product classes.
Merely kind your product classes within the ‘Google Classes’ tab and click on ‘Proceed’
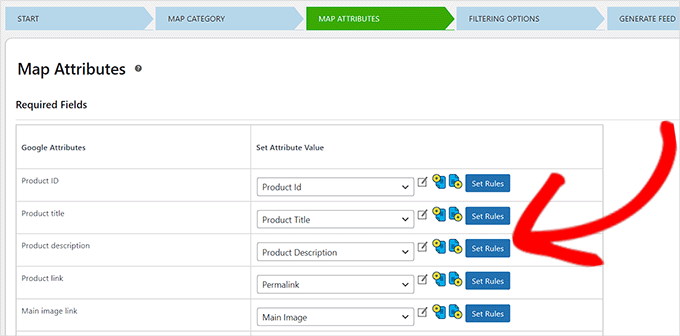
After that, you’ll be directed to the ‘Map Attributes’ web page.
That is the place you’ll should fill in your product particulars together with product id, product description, product hyperlink, pricing, picture, and extra.
Right here choose and fill in as many attributes as attainable for extra visibility in Google Procuring and click on the ‘Proceed’ button.
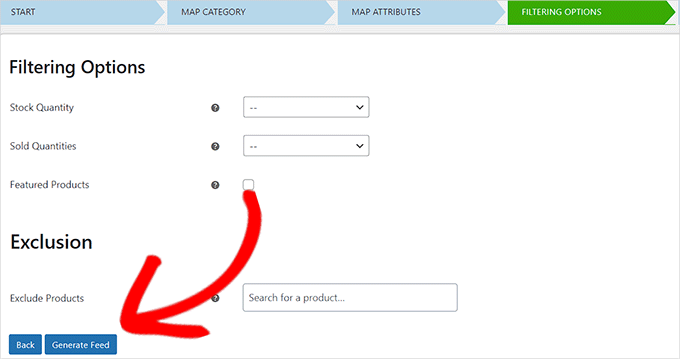
Now that you simply’re on the ‘Filtering Choices’ web page, merely fill within the particulars as required in your on-line retailer.
For instance, you may embrace what number of gadgets you’ve in inventory or be aware what number of have offered already.
Subsequent, merely click on the ‘Generate Feed’ button on the backside.
After you’ve created your Google Procuring feed, go to the Google Procuring Feed » Handle Feeds web page from the admin sidebar.
Right here it is possible for you to to view your Google Procuring Feed. Now you need to merely click on the ‘Obtain’ button beside it.
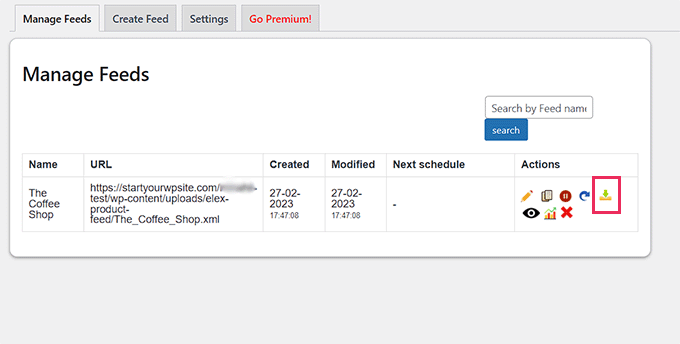
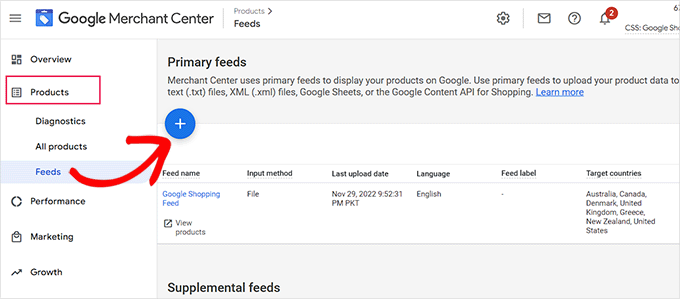
When you’ve downloaded your feed as an XML file, return to the ‘Google Service provider Middle’ dashboard and click on the Merchandise » Feeds possibility from the sidebar.
This may open up the ‘Main Feeds’ web page the place you need to click on the ‘+’ button so as to add a brand new feed.
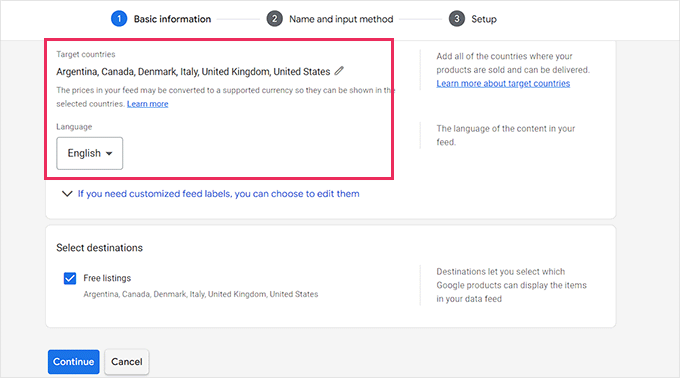
This may take you to the ‘New Main Feed’ web page the place you can begin by filling in primary particulars. First, begin by including all of your goal nations.
Subsequent, choose your most popular language after which click on the ‘Proceed’ button.
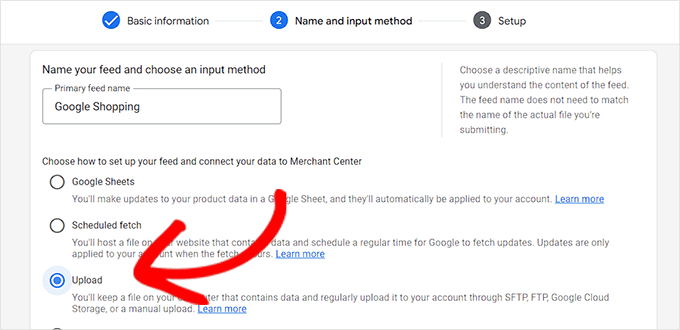
Then, you need to select a reputation in your feed and choose a way to attach your information to the Service provider heart.
For this tutorial, we might be importing the feed XML from WordPress.
After that, simply click on on the ‘Proceed’ button.
Now that you simply’re on the ‘Setup’ web page, merely kind the title in your Google Procuring Feed.
Subsequent, simply add the Feed file you bought from WordPress and click on the ‘Create Feed’ button.
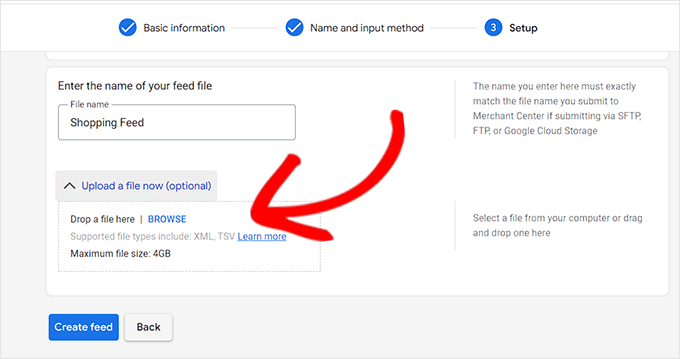
You might have now efficiently added your WordPress merchandise to Google Procuring.
Bonus: Methods to Add Google Service provider Middle Schema in WordPress
To enhance your product search visibility in Google Procuring and improve conversion charges, it is best to add a Google Service provider schema in WordPress.
Schema markup is an HTML code that gives extra particulars about your merchandise to search engines like google.
A GMC itemizing schema will make your search snippets extra distinguished and can enable your merchandise to be featured as widespread merchandise for the related search phrases.
The best manner so as to add a Google Service provider Middle itemizing schema to WordPress is through the use of the All in One website positioning for WordPress.
It’s the finest website positioning plugin for WordPress that’s utilized by over 3 million web sites.
First, you have to set up and activate the All in One website positioning for WordPress. For extra directions, please see our information on methods to set up a WordPress plugin.
Upon activation, a setup wizard will open up. Merely go forward and click on the ‘Get Began’ button.
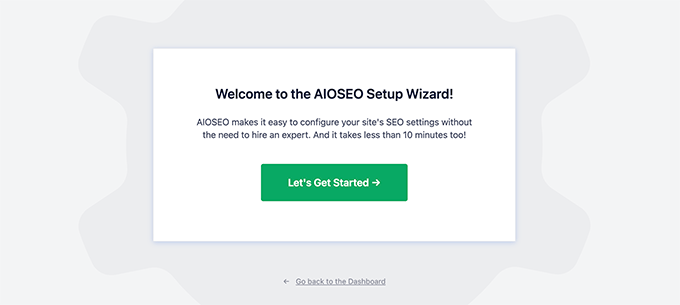
After that, you have to observe the onscreen directions within the setup wizard to configure the plugin. In case you need assistance, please see our information on methods to correctly arrange AIOSEO in WordPress.
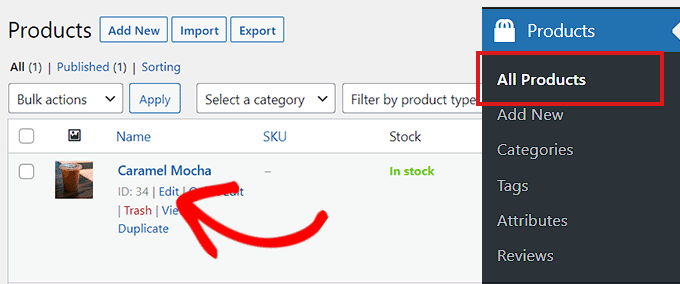
After the AIOSEO plugin has been arrange, you have to go to the Merchandise » All Merchandise web page from the admin sidebar.
From right here, merely click on on the ‘Edit’ hyperlink beneath a product to open up the ‘Edit Product’ web page.
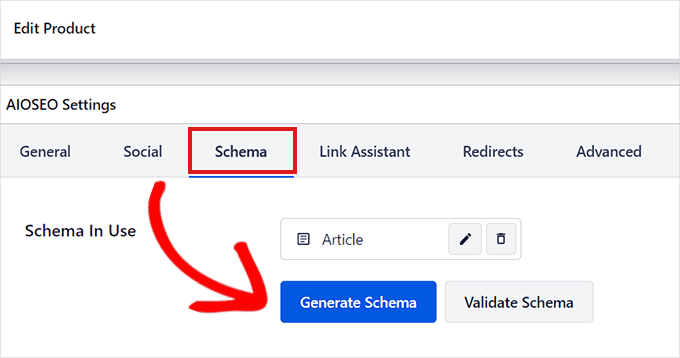
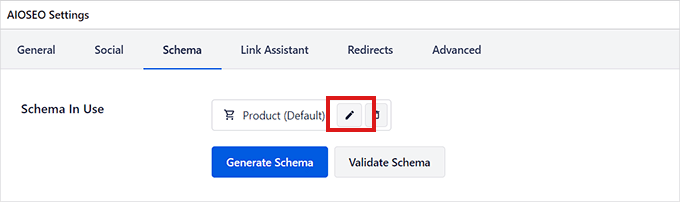
As soon as there, you have to scroll right down to the ‘AIOSEO Settings’ part and click on on the ‘Schema’ tab.
Now, you have to make it possible for the schema kind is about to ‘Product’ by default.
If that isn’t the case, then merely click on on the ‘Generate Schema’ button.
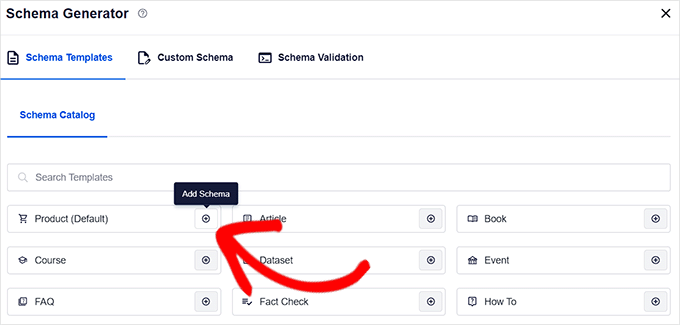
It’ll open up the Schema Catalog which is able to listing all of the accessible schema templates.
From right here, you have to click on the ‘Add Schema’ (+) button beside the Product choice to set it as your main schema.
Observe: You might even see the ‘Article’ schema already utilized. If that’s the case, you may take away it as you add the brand new one as a result of this specific web page isn’t an article or weblog submit in Google’s eyes.
Subsequent, you’ll need to fill within the product data so as to add the GMC itemizing schema.
For that, you have to click on the ‘Edit Schema’ button subsequent to the ‘Schema in Use’ possibility.
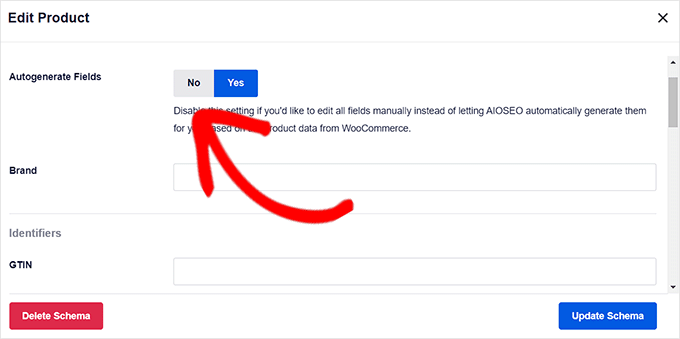
This may open up the ‘Edit Product’ modal the place you’ll need to fill within the product particulars.
In case you’re utilizing WooCommerce, then AIOSEO will routinely pull a lot of the product information out of your product data.
Nonetheless, if you wish to fill within the data manually, you have to merely toggle the ‘Autogenerate Fields’ swap to ‘No.’
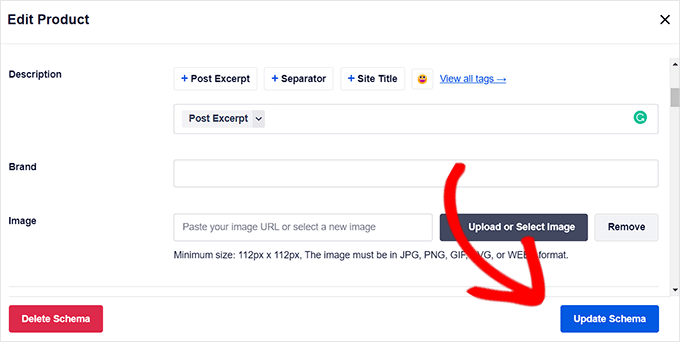
The product attributes that you will want so as to add embrace the product title, description, picture, ISBN, worth, materials, shade, delivery particulars, and extra.
We advocate that you simply present all the small print in order that the schema markup could make your product snippets extra partaking.
When you’re carried out, merely click on the ‘Replace Schema’ or ‘Add Schema’ button to retailer your settings.
You might have now efficiently added the Google Service provider Middle itemizing schema to WordPress, and your merchandise can now be featured on the platform and hopefully earn you extra gross sales.
We hope you discovered methods to add WordPress merchandise to Google Procuring. You may additionally wish to try our greatest WooCommerce reporting and analytics plugins and our article on methods to velocity up your eCommerce web site.
In case you favored this text, then please subscribe to our YouTube Channel for WordPress video tutorials. You may as well discover us on Twitter and Fb.
The submit Methods to Routinely Add WordPress Merchandise in Google Procuring first appeared on WPBeginner.

